Lizard Sketch Drawing
If you're an artist who wants to learn how to draw animals realistically, you might be interested in knowing how to draw a lizard with ink liners. This is a great skill to have because lizards make interesting and unique subjects, and the use of ink liners can add depth and dimension to your drawings. Follow these simple steps and soon, you'll be able to create a stunning lizard drawing with ink liners!

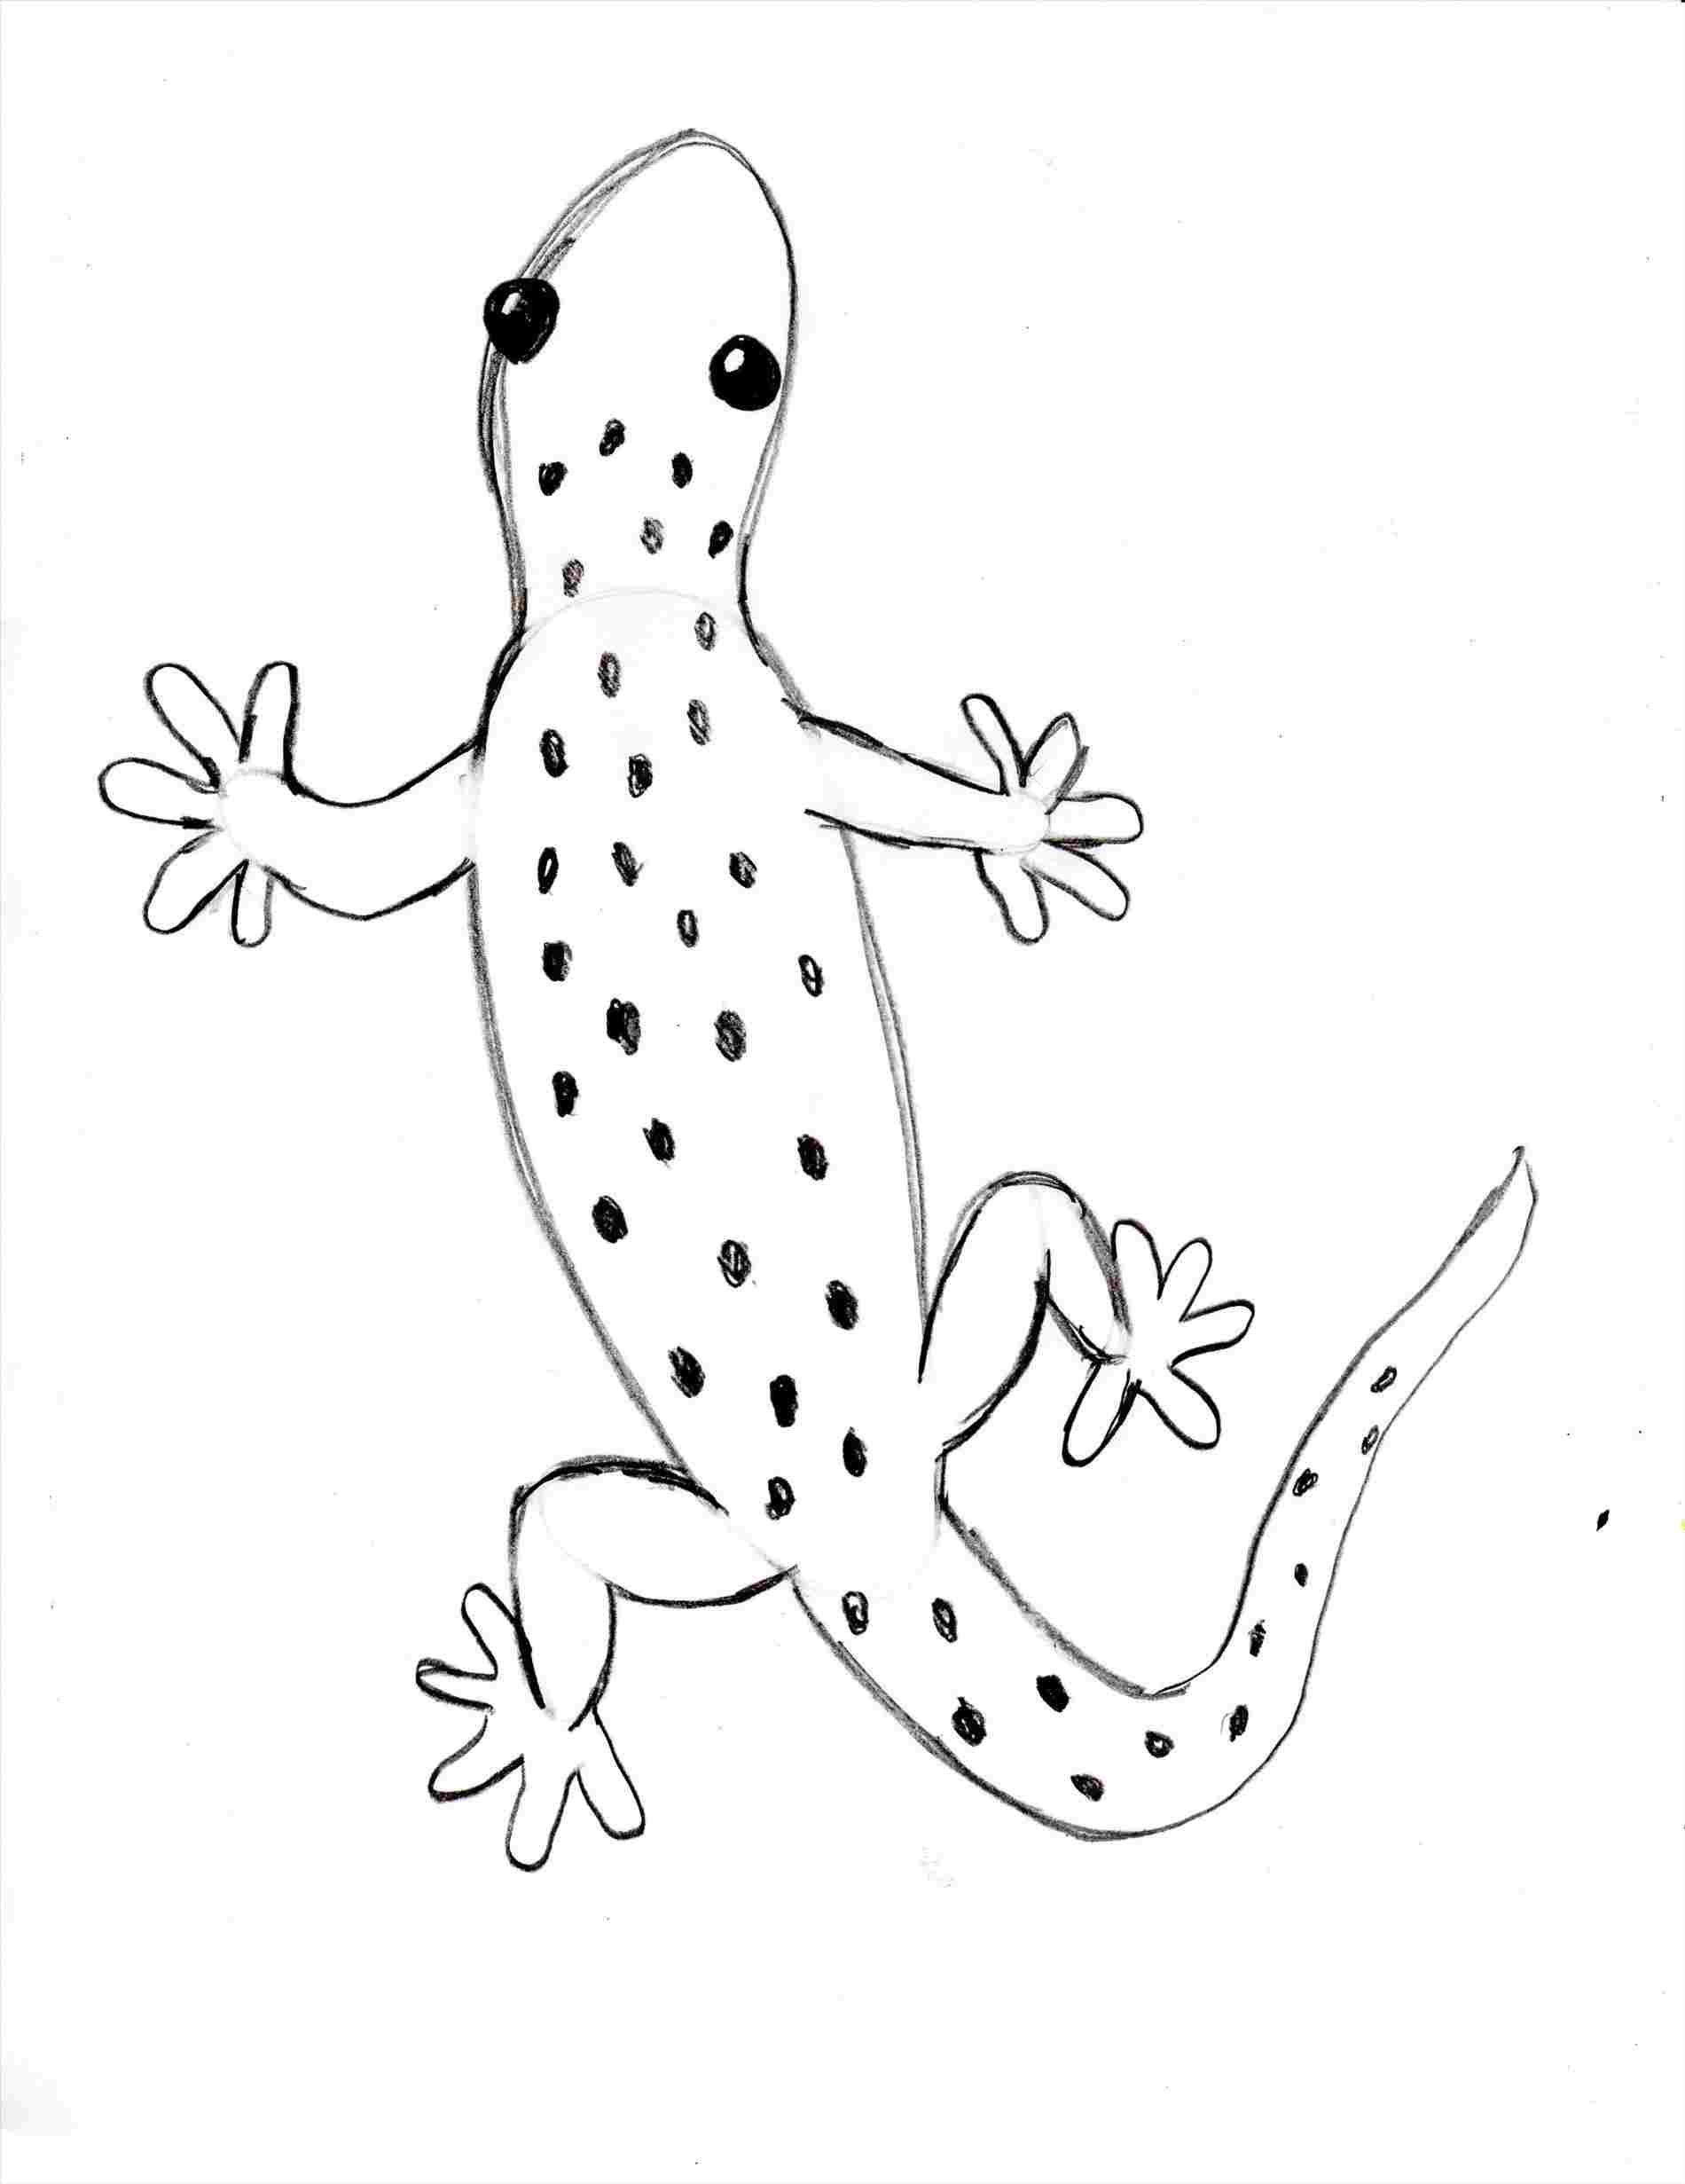
Begin by sketching the basic shape of the lizard's body with a pencil. Make sure to pay attention to the lizard's head, tail, and limbs, and try to capture the natural curve of its spine. Once you have the basic shape down, you can start to add details like the eyes, nostrils, and individual scales.
When you feel confident with your pencil sketch, start going over it with your ink liners. Use a fine-tipped pen to draw the outlines of the lizard's body and the larger scales, and a thicker-tipped pen to fill in the smaller scales and other details. Be patient and take your time with this step, as it's important to get your lines right.
Once you've finished inking your drawing, it's time to add shadows and highlights. Look at your reference image to see where the light source is coming from, and use this information to create areas of shadow and highlights on your lizard's body. You can do this by crosshatching with your ink liners, or by using a white gel pen to add highlights to specific areas.
After you've added shadows and highlights, you can start to add texture to your lizard's skin. Use short, wispy strokes with your ink liners to create the illusion of scales, and vary the pressure you use to create areas of contrast and dimension. Take your time with this step, and don't be afraid to go back in later to add even more texture if needed.
Finally, finish off your lizard drawing by adding some context to the background. You can depict the lizard on a tree branch or climbing up a wall, and add some leaves or rocks to give the drawing more depth. Don't be afraid to get creative with your background, as this can really add to the overall composition of the drawing.
Now that you know how to draw a lizard with ink liners, here are some tips to keep in mind:
- Take your time and be patient. Ink liners can be unforgiving, so it's important to work with a steady hand and take breaks if needed.
- Practice as often as you can to get more comfortable with ink liners.
- Experiment with different types of ink liners to find the ones that work best for you.
- Study the anatomy and behavior of lizards to create more realistic drawings.
- Use reference images to help guide your drawing and to give you ideas for textures and other details.
- Have fun and don't be afraid to make mistakes!
So there you have it, a step-by-step guide on how to draw a lizard with ink liners. With some practice and patience, you'll be able to create stunning drawings that capture the unique beauty of these creatures. Happy drawing!

Post a Comment for "Lizard Sketch Drawing"