Motu Patlu Drawing Sketch
Hey everyone, it’s great to be here and sharing my passion for art! Today, I want to show you how to create a beautiful pencil sketch of an iconic cartoon duo – Motu Patlu! If you’re a fan of this delightful TV show, then you’re going to love creating this piece of art!

Before we begin, let’s talk a little bit about the art of sketching. Pencil sketching is a great way to create a beautiful piece of art without investing a ton of time and resources. All you need is a pencil, some paper, and some creativity!
The first step in creating this Motu Patlu pencil sketch is to gather your materials. You will need:
- A pencil
- A sheet of paper (preferably A4 size)
- An eraser
Now that you have gathered your materials, let’s get started on creating the sketch! Follow these simple steps:
Step 1: Draw the Outline
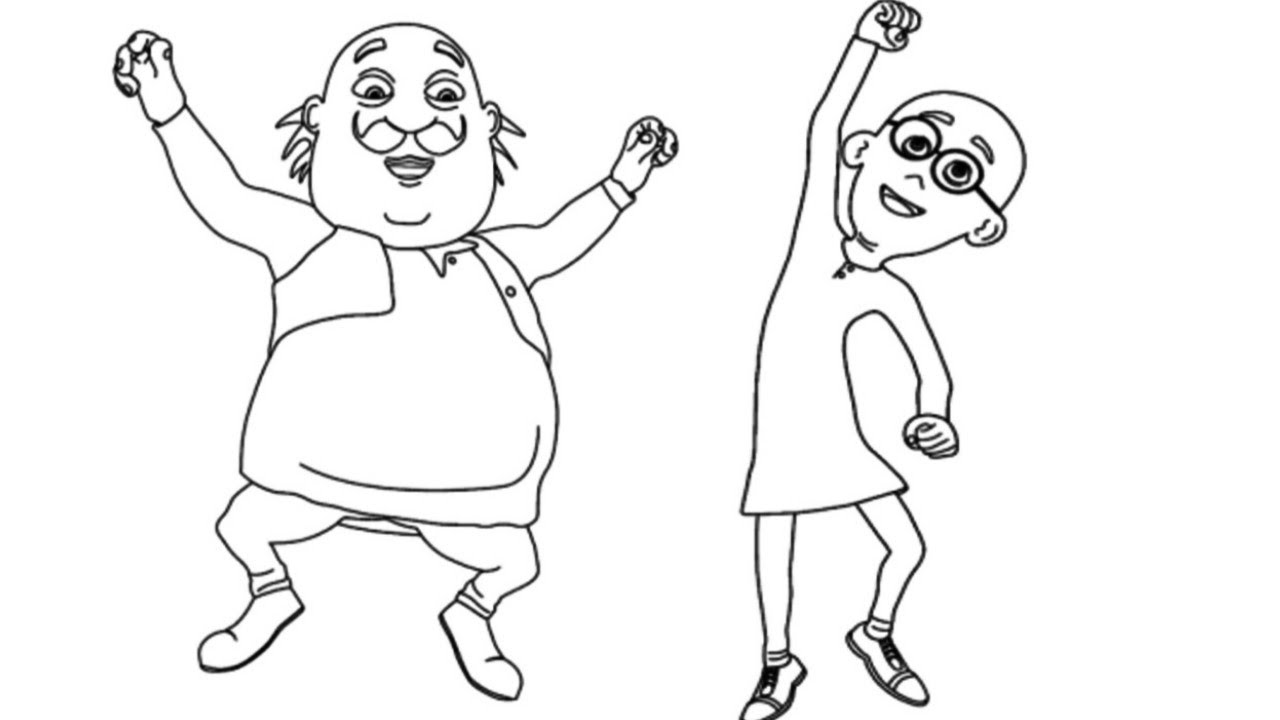
The first thing you need to do is draw the outline of Motu and Patlu. Start with Motu, drawing his round face, ears, and hair. Then move on to his body, drawing the arms, legs, and clothing. Repeat the same process for Patlu. It’s important to draw lightly at this stage so you can easily make changes later on.
Step 2: Add Details
Once you’re happy with the outline, it’s time to add some details. Start by shading in the facial features – the eyes, nose, and mouth. Then add some texture to the hair, clothing, and body. Remember to keep the shading light and build it up gradually.
Step 3: Refine Your Sketch
Once you have added all the necessary details, it’s time to refine your sketch. This is where you can make any changes you want before you finalize your sketch. Erase any lines that you don’t need and make any adjustments to the shading.
Step 4: Finalize Your Sketch
Once you’re happy with your sketch, it’s time to finalize it. Go over the lines and details with your pencil, making them darker and more defined. Then add some final details, such as highlights and shadows, to make your sketch truly stand out.
Step 5: Finish Your Sketch
Once you have finalized your sketch, it’s time to put the finishing touches on it. You can add some color to your sketch using colored pencils or leave it as a black and white sketch.
And there you have it – your very own Motu Patlu pencil sketch! Congratulations, you’re now a true artist!
Tips for Creating a Great Pencil Sketch
Here are some tips to help you create an even better pencil sketch:
- Start with a light outline to help you get the proportions right.
- Use a variety of pencils to create different shades and textures.
- Practice shading – it’s the key to creating a realistic pencil sketch.
- Use a reference image to help you get the details right.
- Don’t be afraid to make mistakes – they can often lead to happy accidents!
How to Take Your Sketching to the Next Level
If you want to take your pencil sketching to the next level, here are some things you can do:
- Experiment with different techniques, such as crosshatching and stippling.
- Try drawing from life – it’s a great way to improve your observational skills.
- Invest in some good quality pencils and paper.
- Take a course or attend a workshop to learn new skills and techniques.
- Practice, practice, practice!
And there you have it – everything you need to know to create a beautiful pencil sketch of Motu and Patlu. Have fun, get creative, and don’t forget to share your masterpiece with us!

Post a Comment for "Motu Patlu Drawing Sketch"