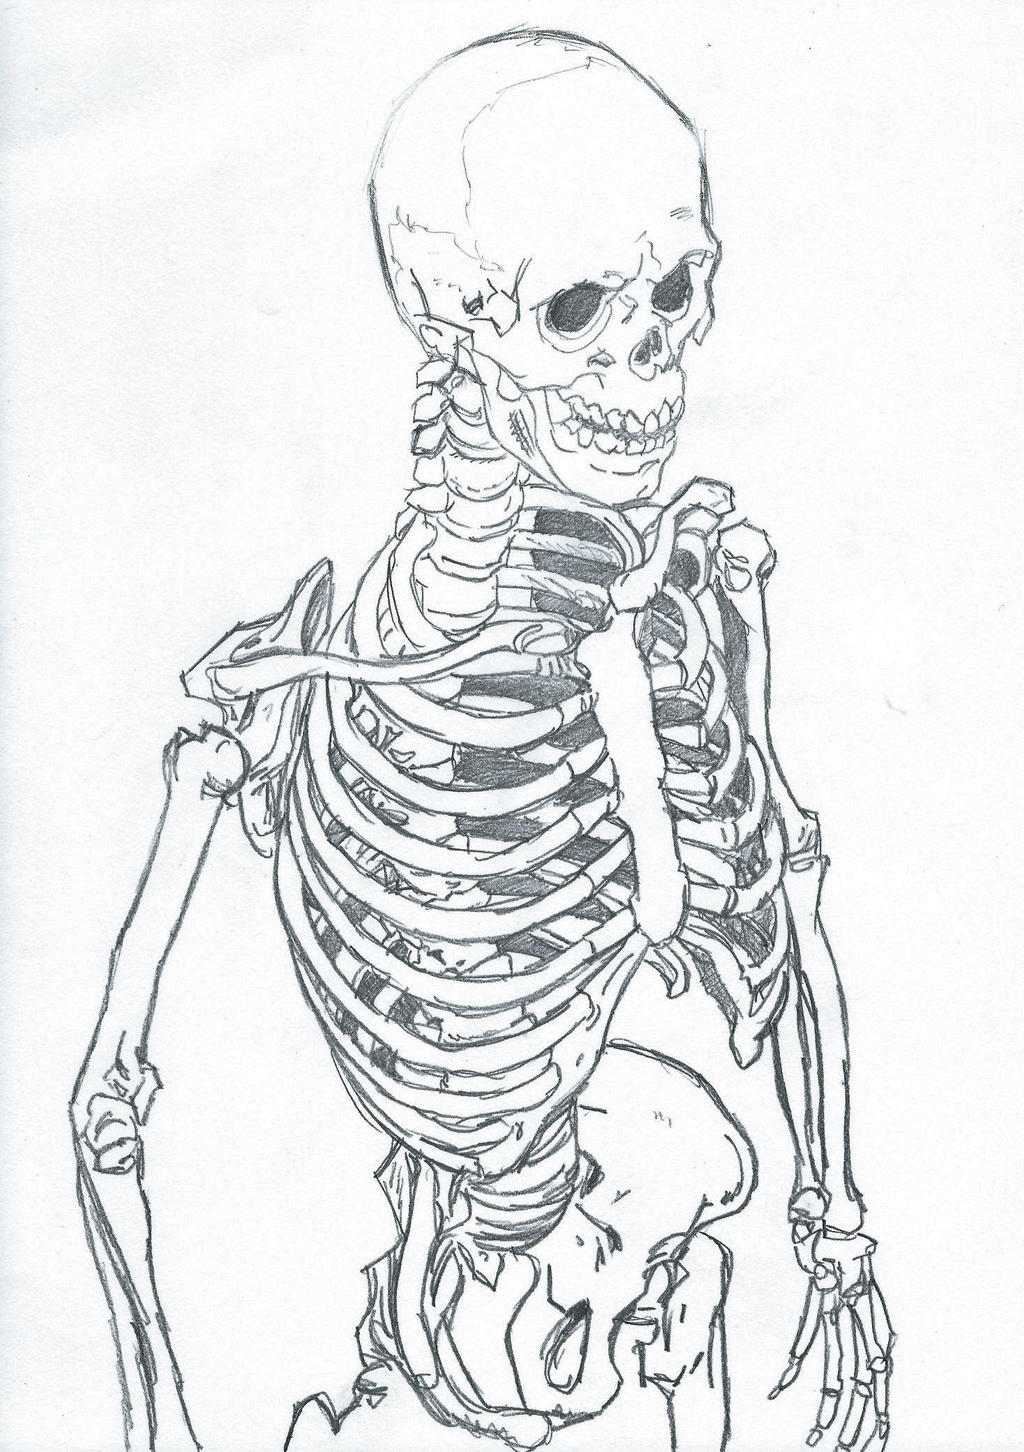
Skeleton Drawing Sketch
Today we are going to talk about the art of drawing. Drawing is a form of art that has been around for centuries. It is a skill that requires practice and patience to master. With every stroke of the pencil, you can create something beautiful and unique. In this post, we will explore some tips and tricks for drawing, as well as provide you with a step-by-step guide on how to draw a skeleton.

Getting Started
Before we dive into the process of drawing a skeleton, let's talk about some key tips for getting started with drawing. Firstly, it is important to remember that drawing is a skill that can be learned. Even if you don't consider yourself an artist, with consistent practice you can improve your abilities. Additionally, it's important to have the right materials. A quality sketchpad, pencils of varying levels of hardness, and a good eraser are all helpful tools.
Step-by-Step Guide to Drawing a Skeleton
Now let's take a look at the process of drawing a skeleton. This may seem like a daunting task, but with practice, you'll be able to create a beautiful drawing in no time.
Step One: Basic Shapes
Begin by sketching basic shapes to create the skeleton's frame. You'll want to use a light pencil to make these initial sketches so that you can easily erase any mistakes as you go. Start with a circle for the skull, and then draw lines for the spine and limbs. Don't worry too much about the details at this point - the goal is simply to create a framework for your drawing.
Step Two: Add More Detail
Once you have the basic shapes in place, it's time to start adding more detail. Use your pencil to sketch in the details of the skull, such as the eye sockets and nasal cavity, as well as the ribs and other bone structures. It's important to keep your lines light and fluid, as this will give your drawing a more natural look.
Step Three: Refine Your Sketch
As you continue to add detail, be sure to step back from your sketch periodically to assess your progress. You may find that certain areas need more work than others. Pay attention to the proportions of the skeleton - this will help ensure that your drawing looks anatomically correct.
Step Four: Add Shadows and Highlights
Once you are happy with the overall shape and detail of your drawing, it's time to add shadows and highlights to give your skeleton depth and dimension. Use a hard pencil to darken the areas that would be in shadow, and a light pencil to add highlights to the bones. This is where your drawing will really start to come to life.
Step Five: Final Touches
Finally, add any final touches or details that you feel are necessary. This could include adding texture to the bones, or correcting any mistakes you noticed during the refinement process. Once you're happy with your drawing, sign and date it to commemorate your hard work.
How to Improve Your Drawing Skills
Now that you've learned how to draw a skeleton, you may be wondering how you can continue to improve your drawing skills. Here are a few tips to help you along the way:
- Practice regularly - the more you draw, the better you'll get
- Take a drawing class or workshop to learn new techniques and get feedback from other artists
- Study the work of other artists to see how they approach different subjects and techniques
- Experiment with different mediums, such as charcoal or pen and ink, to challenge yourself and expand your skills
Tips for Drawing Realistic Human Anatomy
Drawing skeletons is a great way to improve your overall understanding of human anatomy. However, if you want to take your skills to the next level and create more realistic drawings, here are some additional tips:
- Study the anatomy of the human body - this will help you understand how bones, muscles, and other structures work together
- Practice drawing from life - this will help you develop an eye for detail and learn how to capture the subtle nuances of the human form
- Use reference images or models to help you get the proportions and positioning of the bones correct
- Try different drawing techniques, such as cross-hatching or stippling, to create different textures and shading effects
Drawing is a beautiful and rewarding art form that anyone can learn. With practice and patience, you can create stunning works of art that showcase your talent and creativity. Hopefully, this post has provided you with some helpful tips and insights that will help you on your artistic journey.
Post a Comment for "Skeleton Drawing Sketch"