Horse Sketch Drawing Step By Step
Oh my goodness, have you ever tried to sketch a horse? It's like trying to catch a greased pig wearing roller skates! But fear not my adventurous little artists, because today I'm going to show you how to sketch a horse like a pro.
First things first, you need to gather your materials. A good quality pencil, a sketchbook, and some references of horses are all must-haves for this task. If you can't find any references, just go to your local petting zoo or Google images. And make sure to stretch those art muscles, because this is going to be a wild ride!
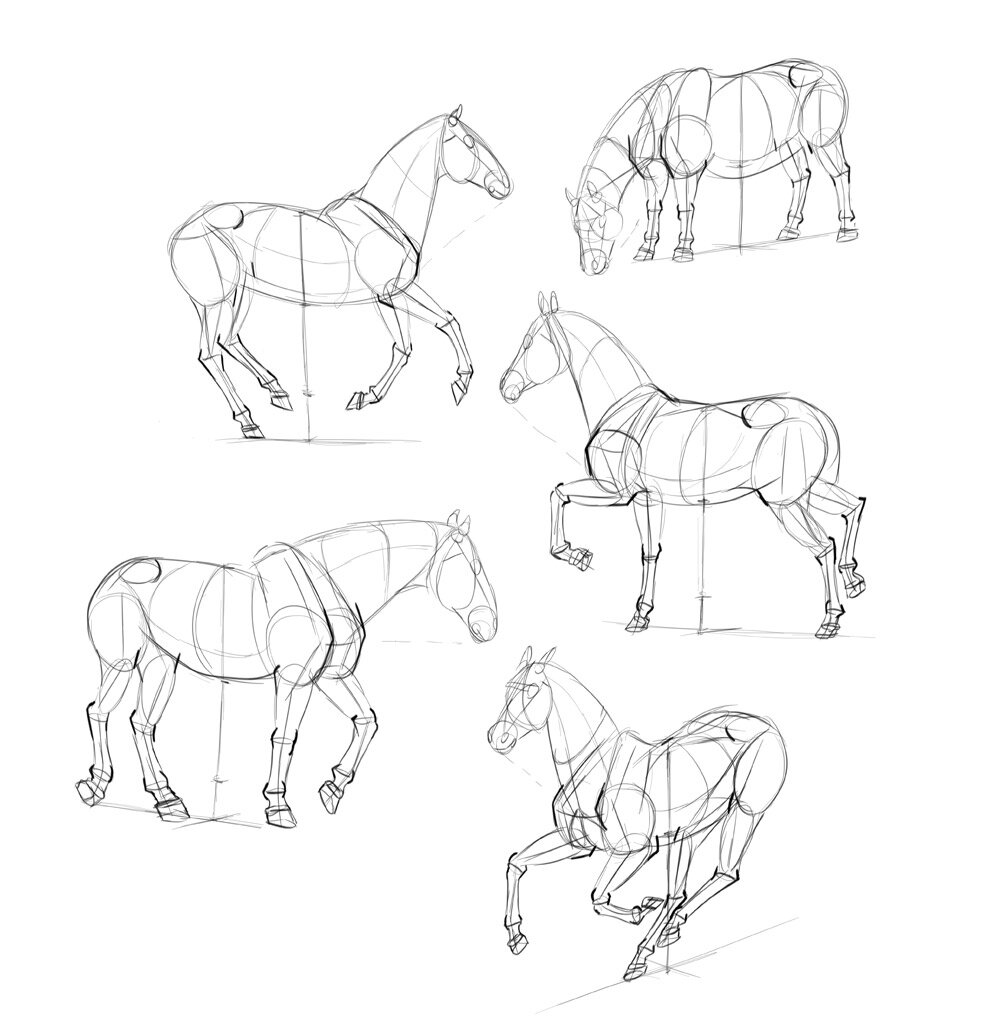
Now, let's get down to the nitty-gritty of horse sketching. The key to a successful horse sketch is capturing their fluid movement. Horses are strong, powerful creatures that are always in motion. So, you need to give your sketch that dynamic feeling by starting with a rough gesture drawing. This will set the foundation for your horse's form and make it easier to add details later on.
Next, start adding some basic shapes to your sketch. Horses are made up of circles, squares, and triangles. Use these shapes to map out your horse's proportions and anatomy. Don't worry too much about getting everything perfect at this stage - just focus on getting the basic structure in place.
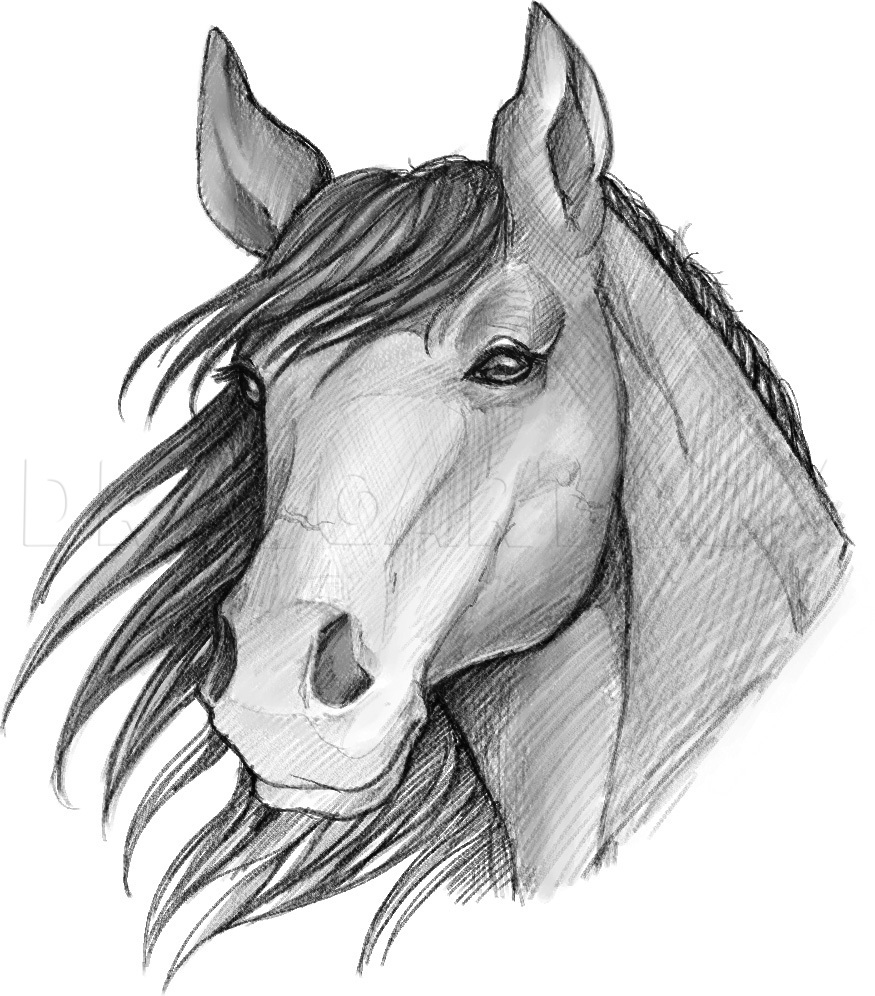
Now you're ready to start adding details. Horses have long, flowing manes and tails that are a joy to sketch. Add some loose lines to indicate the flow of the hair, and don't stress about making it too detailed. Horses also have muscular necks and legs, so pay attention to those areas and start to flesh out your sketch a bit more.
One thing to keep in mind when sketching horses is their unique shapes. Horses have long, lean bodies with curvy lines that are essential for showing their grace and beauty. Make sure you're capturing those lines in your sketch, as they're crucial for making your horse look realistic.
As you add more detail to your sketch, it's important to keep stepping back and looking at the big picture. Check to see if your horse's proportions are correct, and make adjustments as needed. And don't be afraid to erase and start over if something isn't working - that's all part of the artistic process!
When you're happy with your rough sketch, it's time to start refining it. Use a harder pencil lead (like an H or HB) to add more detail to your horse. Start to define the muscles in the legs, the curves of the body, and the expression on your horse's face. This is where your hard work will start to pay off, and your horse will really start to come to life.
Now that you've got your horse sketch in hand, there are a few tips to keep in mind. Firstly, study the anatomy of horses. Knowing the way their muscles and bones work can help you create a more realistic and dynamic drawing. Secondly, practice makes perfect! Keep sketching horses, and before you know it, you'll be a pro.
Lastly, don't get too bogged down in the details. While it's important to capture the essence of a horse, it's also important to let your own style and interpretation shine through. So have fun with your horse sketches, and let your creativity run wild!
Well, there you have it folks - a crash course in horse sketching. I hope this has been useful for all you budding artists out there, and remember - the journey of a thousand miles begins with a single brush stroke (or pencil stroke, in this case).

Post a Comment for "Horse Sketch Drawing Step By Step"