Legs Sketches Drawing
If you want to improve your drawing skills, learning to draw legs is an important step. Having the ability to draw legs at different angles will give your artwork a sense of depth and motion. In this post, we will show you how to draw legs at three different angles, with easy-to-follow steps and helpful tips.

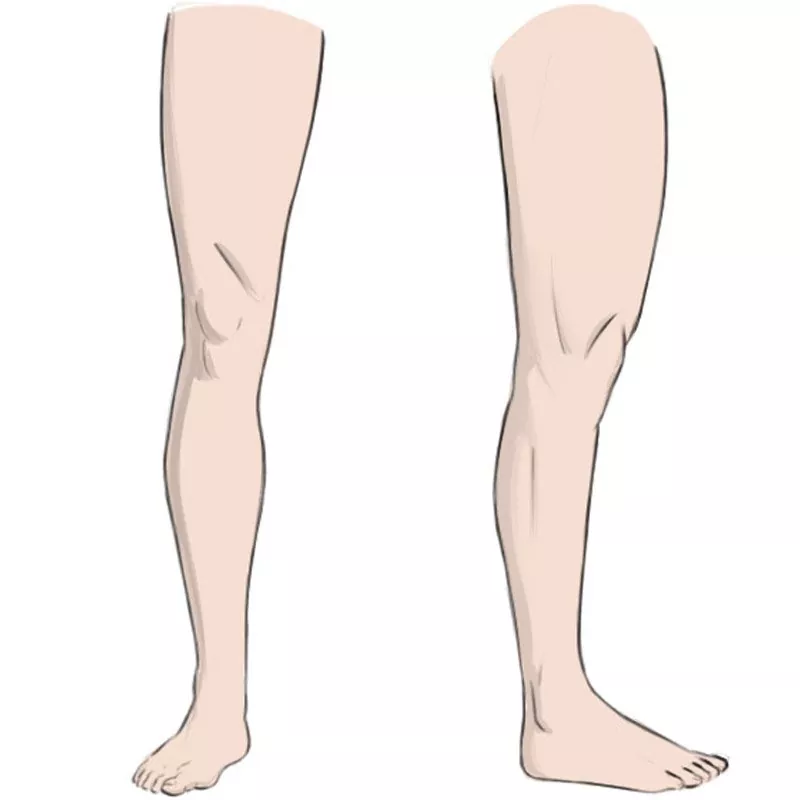
Before we begin, you will need a few basic drawing supplies, including pencils, erasers, and paper. It's also helpful to have a reference image, like the one provided above. Now, let's get started!
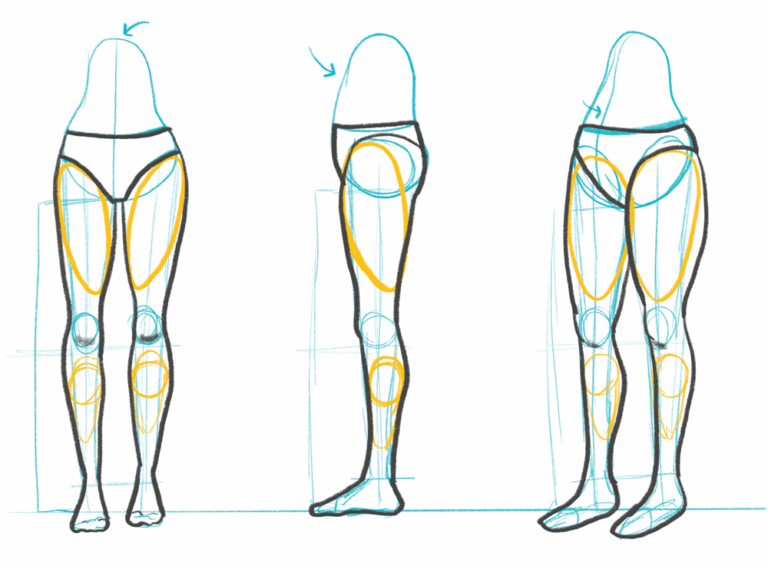
Angle 1: Front View
Begin by drawing a vertical line to indicate the center of the leg. Then, draw the two halves of the upper leg, making sure they are symmetrical. Draw a curved line to connect the upper legs with the knee joint. Draw the knee joint as a circle or oval shape. Then, draw the two halves of the lower leg, again making sure they are symmetrical. Draw a curved line to connect the lower legs with the ankle joint. Finally, draw the foot.
Angle 2: Side View
Start by drawing a line for the center of the leg. Then, draw the upper leg as a tapered shape, wider at the top and narrower at the knee. Draw a line to indicate the back of the knee joint, and then draw the lower leg as another tapered shape, wider at the knee and narrower at the ankle. Finish with the foot, leaving a small gap where the ankle would be.
Angle 3: Three-Quarter View
This angle can be a bit trickier, but it's worth the effort to master. Start by drawing a line for the center of the leg. Then, draw the upper leg as a tapered shape, wider at the top and narrower at the knee. Draw a curved line to indicate the front of the knee joint, and then draw the lower leg as another tapered shape, wider at the ankle and narrower at the knee. Finally, draw the foot.
How to Perfect Your Leg Drawings
Now that you know how to draw legs at three different angles, it's time to focus on perfecting your technique. Here are a few tips to keep in mind:
- Practice drawing legs from different angles until you feel comfortable with the shapes and proportions.
- Pay attention to the curves of the leg, especially at the joints. This will give your drawings a more realistic look.
- Use shading to create depth and dimension in your drawings.
- Experiment with different art styles to find the one that works best for you.
- Don't be afraid to make mistakes - every drawing is a learning experience!
Tips for Drawing Legs in Different Poses
Drawing legs in different poses can be challenging, but these tips will help you create dynamic and interesting drawings:
- Start with a basic outline of the pose before adding the legs. This will help you get the overall proportions right.
- Use reference images or real life models to help you with difficult poses.
- Pay attention to the weight of the body and how it affects the legs. A person leaning forward will put more weight on their front leg, for example.
- Experiment with asymmetrical poses to make your drawings more dynamic.
In Conclusion
Learning to draw legs is an essential skill for any artist. With a bit of practice and patience, you can master drawing legs from different angles and poses. Remember to pay attention to the curves of the leg, use shading to create depth, and have fun experimenting with different art styles. So grab your pencils and give it a try - your next masterpiece is just a few strokes away!

Post a Comment for "Legs Sketches Drawing"