Pencil Sketch Drawing Tips
Hey guys, today I want to share with you a really cool step-by-step drawing tutorial that I came across online. It's all about creating beautiful charcoal and graphite pencil portraits, and I think you're going to love it!

So let's get started with the first step in this tutorial. The first thing you need to do is gather all of your materials. You'll need charcoal and graphite pencils of various shades, some white erasers, and some high-quality drawing paper. Once you've gathered everything you need, you're ready to move on to the next step.
Now it's time to start sketching out the basic outline of your portrait. You can either start by drawing the eyes, or you can begin with the overall shape of the head. Whichever approach you choose, make sure to take your time and focus on getting the proportions just right.
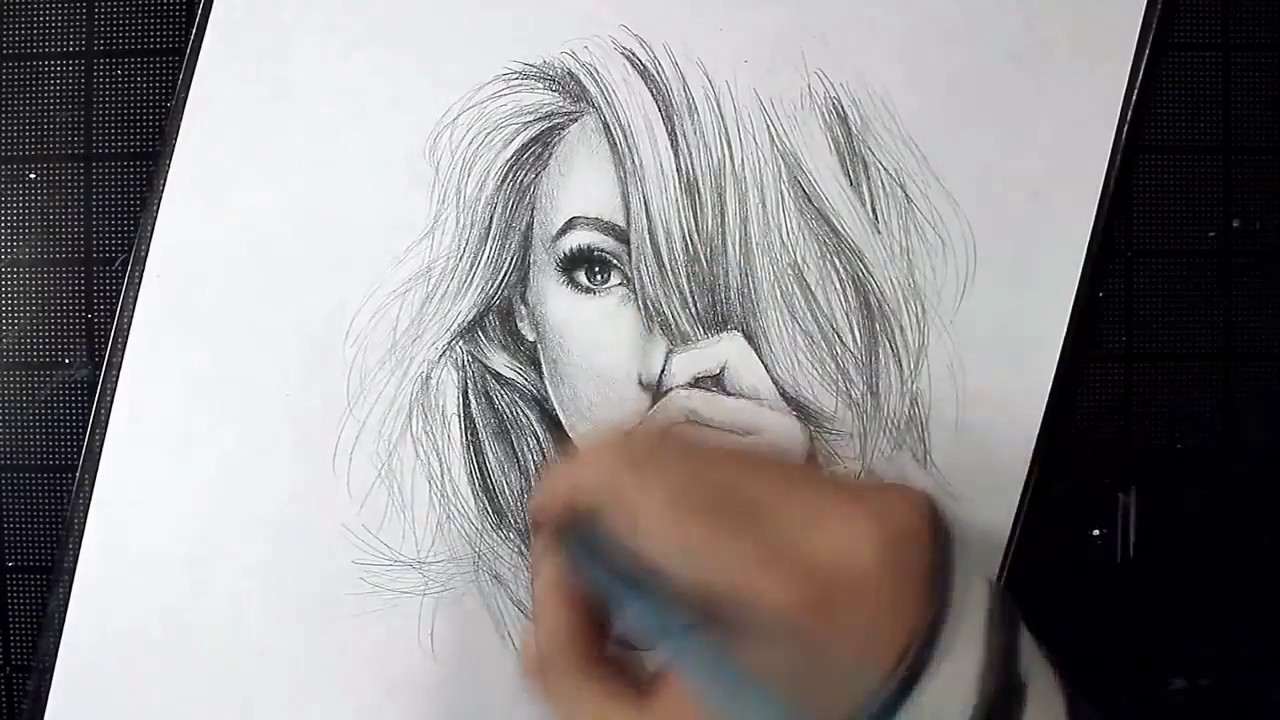
Once you're happy with the basic outline of your portrait, it's time to start adding in the details. This is where you can really start to have some fun with your drawing. Start by shading in the areas around the eyes and mouth, and gradually work your way outwards to the rest of the face.
As you work, try to pay attention to the way the light falls on your subject's face. Use lighter shades of graphite or charcoal to highlight the areas of the face that are catching the most light, and darker shades to create shadows in the areas that are in shade.
Don't worry if your drawing doesn't look perfect right away. This is a process, and it's normal for it to take some time to get everything just right. Just keep working at it, and before you know it, you'll have a gorgeous portrait that you can be proud of!
One of the keys to creating a great charcoal and graphite pencil portrait is to use a variety of shades. Don't just stick to one shade of pencil throughout your drawing - instead, try to use a range of light and dark shades to create depth and dimension.
Another important tip is to always be thinking about the direction and texture of your pencil strokes. Use short, light strokes for areas of fine detail, and longer, more sweeping strokes for larger areas of shading. By varying the direction and texture of your lines, you can create a more lifelike and realistic drawing.
As you work, don't forget to step back every now and then and take a look at your drawing from a distance. This can help you spot any areas that need more work, and it can also give you a better sense of how your drawing is coming along overall.
And there you have it - a step-by-step guide to creating stunning charcoal and graphite pencil portraits! With a little bit of practice and patience, anyone can learn to create beautiful drawings like this. So go ahead and give it a try - you might just be surprised at what you can accomplish!
How To Create Beautiful Charcoal And Graphite Pencil Portraits
Creating a charcoal and graphite pencil portrait is a fun and rewarding artistic pursuit that anyone can learn. To get started, you'll need to gather a few basic supplies:
- Charcoal and graphite pencils in a variety of shades
- High-quality drawing paper
- White erasers
Once you have your supplies, it's time to get to work!
Step 1: Sketch Out The Basic Outline Of Your Portrait
Start by sketching out the basic outline of your portrait using a light pencil. You can start with the eyes or the overall shape of the head - whichever approach you choose, make sure to focus on getting the proportions just right.
Step 2: Add In The Details Of Your Portrait
Once you're happy with the basic outline, it's time to start adding in the details. Use light shades of graphite or charcoal to start shading in the areas around the eyes and mouth, and gradually work your way outwards to the rest of the face.
Step 3: Use A Range Of Shades To Create Depth And Dimension
One of the keys to creating a great charcoal and graphite pencil portrait is to use a variety of shades. Don't just stick to one shade of pencil throughout your drawing - instead, try to use a range of light and dark shades to create depth and dimension.
Step 4: Pay Attention To The Direction And Texture Of Your Pencil Strokes
Another important tip is to be conscious of the direction and texture of your pencil strokes. Use short, light strokes for areas of fine detail, and longer, more sweeping strokes for larger areas of shading. By varying the direction and texture of your lines, you can create a more lifelike and realistic drawing.
Step 5: Step Back And Take A Look At Your Drawing From A Distance
As you work, don't forget to step back every now and then and take a look at your drawing from a distance. This can help you spot any areas that need more work, and it can also give you a better sense of how your drawing is coming along overall.
Tips For Creating Beautiful Charcoal And Graphite Pencil Portraits
Here are a few extra tips to help you create even better charcoal and graphite pencil portraits:
- Practice often. Like any skill, drawing takes time and practice to master.
- Don't be afraid to experiment. Try new techniques and materials to keep your drawing fresh and exciting.
- Be patient. Charcoal and graphite pencil portraits can take a while to complete, but the end result is worth it!
Okay guys, that's it for my tutorial on creating beautiful charcoal and graphite pencil portraits. I hope you found it helpful, and don't forget - practice makes perfect! Happy drawing!

Post a Comment for "Pencil Sketch Drawing Tips"