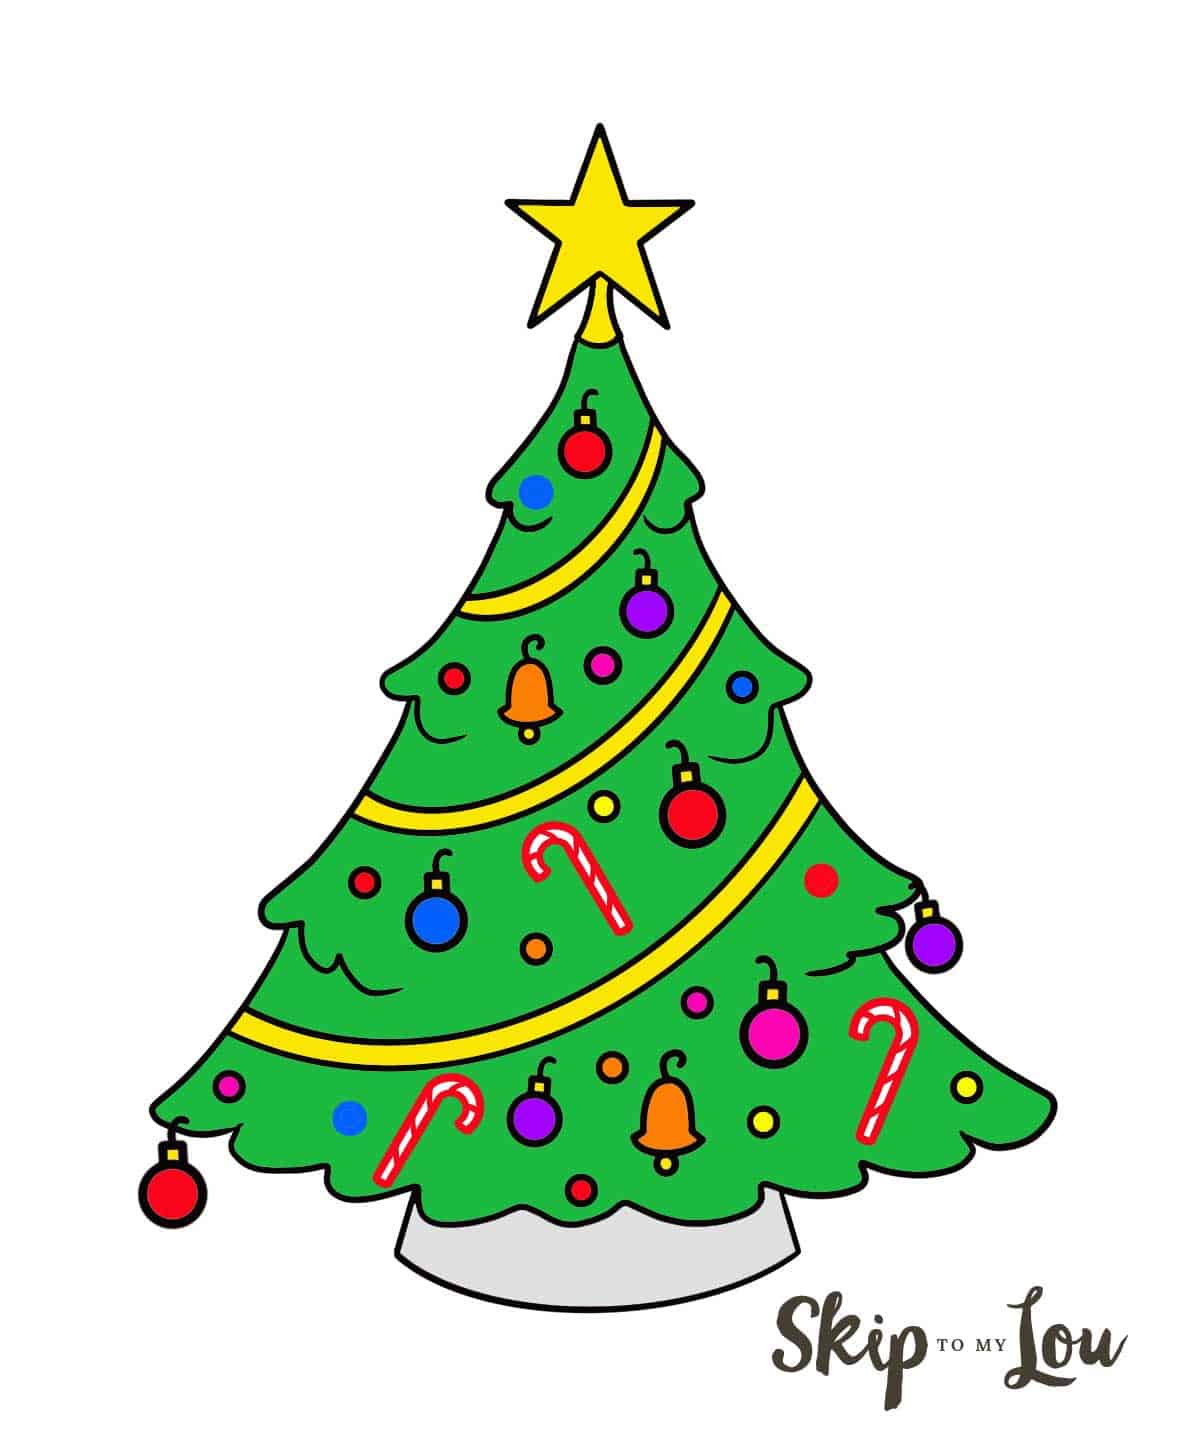
Christmas Tree Drawing Sketch
The holiday season brings joy and cheer to everyone, and what better way to spread the holiday spirit than by learning how to draw a Christmas tree? In this tutorial, we will guide you through the process of drawing a Christmas tree step by step, making it easy for you to create your own perfect holiday masterpiece.
The first step to drawing a Christmas tree is to start with the shape of the tree. Draw a triangle shape in the center of your paper, making sure to leave enough space at the bottom for the trunk.
Next, draw a small rectangle at the bottom of the triangle for the trunk of the tree.
Now it's time to add some branches to your tree. Starting at the top of the triangle, draw a line that extends outwards to the left and then to the right. Repeat this process, making each branch slightly shorter than the one before it, until you reach the bottom of the tree.
Continue to add branches to your tree, making sure that they are evenly spaced and decrease in size as they approach the bottom.
Once you have finished adding branches to your tree, it's time to add some decorations. Draw circles, stars, or other shapes onto the branches of the tree, making sure that they are evenly spaced.
Now is the time to add some color to your tree. Use green colored pencils or markers to fill in the branches of the tree, leaving the decorations white or adding color as desired.
For added detail, you can add shading to your tree using darker shades of green. This will add depth and dimension to your tree and make it appear more realistic.
Congratulations, you have successfully drawn your own Christmas tree! Now let's move onto some tips and tricks to make your drawing even better.
How to Add Depth and Dimension to Your Tree
If you want to take your Christmas tree drawing to the next level, try adding some depth and dimension to it. One way to create the illusion of depth is to use shading.
To shade your tree, start by identifying which direction the light is coming from. Use a darker shade of green or brown to shade the areas that are furthest away from the light source, and use a lighter shade of green to shade areas that are closest to the light source.
Another way to add depth to your tree is to use overlapping branches. Instead of drawing each branch separately, draw some of the branches on top of others. This will create the illusion that some branches are further away than others, giving your tree a more realistic look.
How to Add Ornaments and Decorations to Your Tree
Your Christmas tree wouldn't be complete without some ornaments and decorations. To add these to your tree, start by choosing what shapes and colors you want to use. You can draw circles, stars, bulbs, or any other shape that you like.
Once you have chosen your shapes, draw them onto the branches of your tree, making sure that they are evenly spaced. You can use multiple colors or just one, depending on the look you are going for.
For added detail, you can use metallic markers or colored pencils to add shine and sparkle to the ornaments. This will make them really pop off the page and give your tree an extra touch of holiday magic.
How to Add a Background to Your Drawing
If you want to take your drawing to the next level, try adding a background to it. You can draw a snowy landscape, a cozy living room, or any other scene that you like.
Start by drawing the background first, making sure to leave enough space for your tree. Once you have your background, draw your tree in the foreground.
For added detail, you can use markers or colored pencils to add shading and texture to the background. You can also use stickers or cutouts to add additional details and elements to your drawing.
How to Use Different Tools to Create Different Effects
If you want to experiment with different drawing tools to create different effects, try using markers, colored pencils, or paint. Each of these tools will create a different look and feel to your drawing.
Markers will give you a bold and vibrant look, perfect for creating a tree that really stands out. Colored pencils will allow you to create more subtle shading and texture, giving your tree a more realistic and detailed look.
Paint is perfect for creating a soft and dreamy look to your drawing. You can use watercolors or acrylics to create a variety of effects, from misty backgrounds to brightly colored ornaments.
How to Personalize Your Tree
Now that you know how to draw a Christmas tree, it's time to make it your own! Experiment with different colors, shapes, and decorations to create a tree that reflects your own personal style and taste.
You can also add personal touches to your drawing by including things like your favorite holiday characters, your family's name, or even your own face. The possibilities are endless, so don't be afraid to get creative.
We hope that this tutorial has helped you learn how to draw a Christmas tree like a pro. Remember, the most important thing is to have fun and enjoy the process. Happy drawing and happy holidays!


Post a Comment for "Christmas Tree Drawing Sketch"