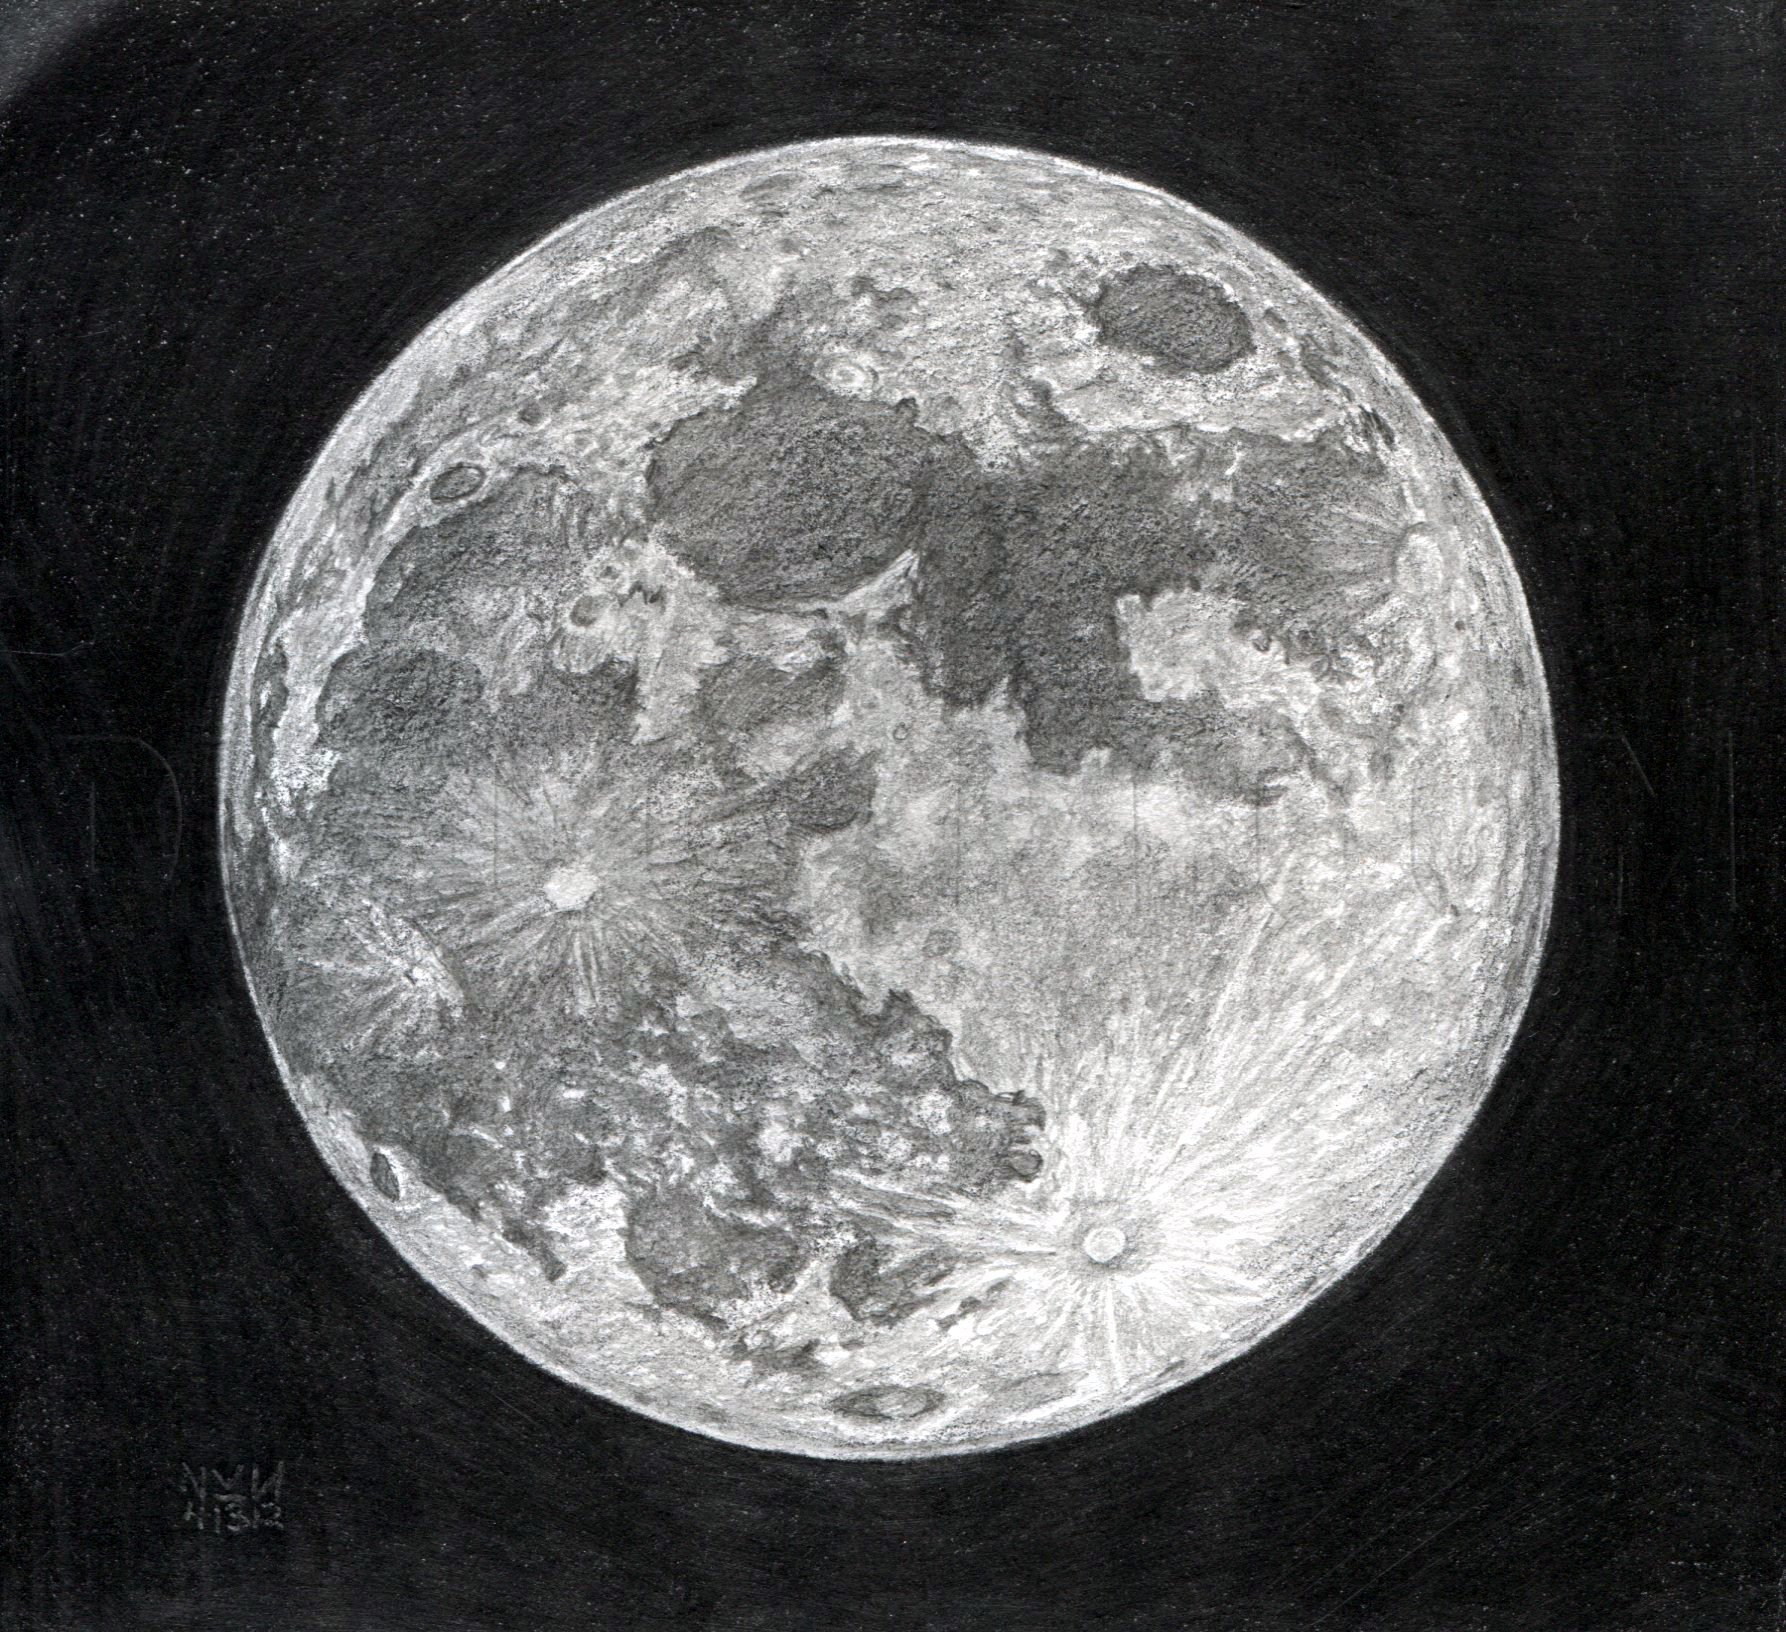
Moon Sketch Drawing
Have you ever looked up at the night sky and wondered how to draw the beautiful moon? Well, look no further because we've got you covered! With this step-by-step guide, you'll be able to draw the moon like a pro in no time!

The first step in drawing the moon is to start with a circle. This will be the base for the moon's shape. You can use a compass to create a perfect circle or you can simply freehand it. Once you have your circle, you can start to add the moon's features.
Next, you'll want to draw the moon's craters. These are the small indentations on the surface of the moon that give it its unique texture. You can use a small, pointed tool to create these craters or you can use a pencil to draw small circles and then shade them in to create the illusion of craters.
After you've added the craters, it's time to add some shading to the moon. The moon is a three-dimensional object, so it has areas that are lighter and areas that are darker. Use your pencil to create shading on the edges of the moon to give it depth and dimension.
Now that you've added some shading, it's time to add some more detail to the moon. You can add some smaller craters or uneven edges to give the moon a more natural look. You can also use a white pencil or chalk to add some highlights to the moon to give it a more realistic look.
Once you've added all the details to your moon, it's time to color it in. The moon is typically gray in color, so you can use shades of gray to color it in. You can also use some white to create highlights and black to create shadows.
Finally, take a step back and admire your beautiful moon! With a little bit of practice and patience, you'll be able to draw the moon like a professional artist.
How To Draw The Moon:
- Start with a circle to create the moon's base shape.
- Add craters to give the moon texture.
- Use shading to create depth and dimension.
- Add more details, such as smaller craters or uneven edges.
- Color in the moon using shades of gray, white, and black.
- Use white to create highlights and black to create shadows.
- Proudly show off your beautiful moon drawing!
Tips:
- Practice makes perfect! Don't worry if your first few attempts don't look perfect.
- Take your time and focus on the details. The more detail you add, the more realistic your moon will look.
- Try using different shading techniques, such as cross-hatching or stippling, to create unique textures.
- Experiment with different colors and techniques to create different moods and atmospheres.
- Have fun and enjoy the process!
With these simple steps and tips, you'll be able to draw the moon like a pro. So go ahead and give it a try! Who knows, maybe you'll discover your inner artist and start creating even more masterpieces.
Now that you've learned how to draw the moon, why not try your hand at other celestial objects like stars, planets, or galaxies? The possibilities are endless!

Post a Comment for "Moon Sketch Drawing"