How To Draw Eyes Sketch
One of the most intricate and beautiful aspects of the human face is the eye. From its unique shape and color, to the way it subtly conveys emotion, there is something truly special about the eye. It's no wonder that artists and designers have been captivated by the eye for centuries.
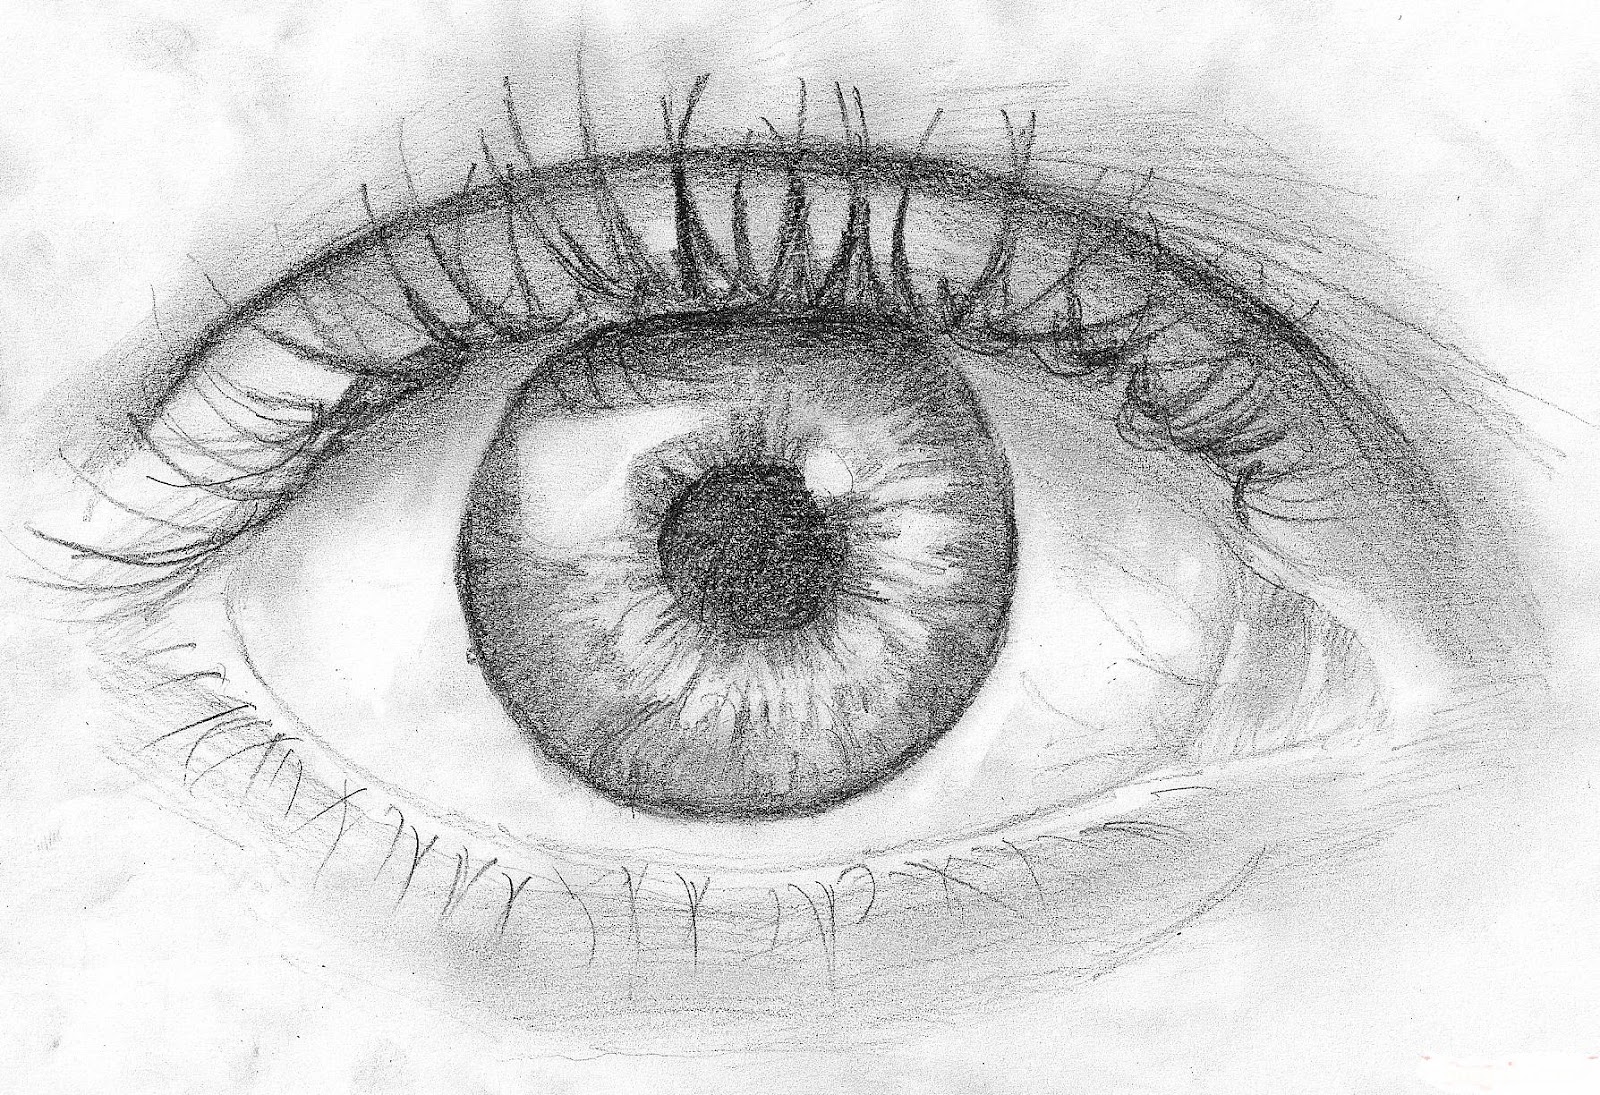
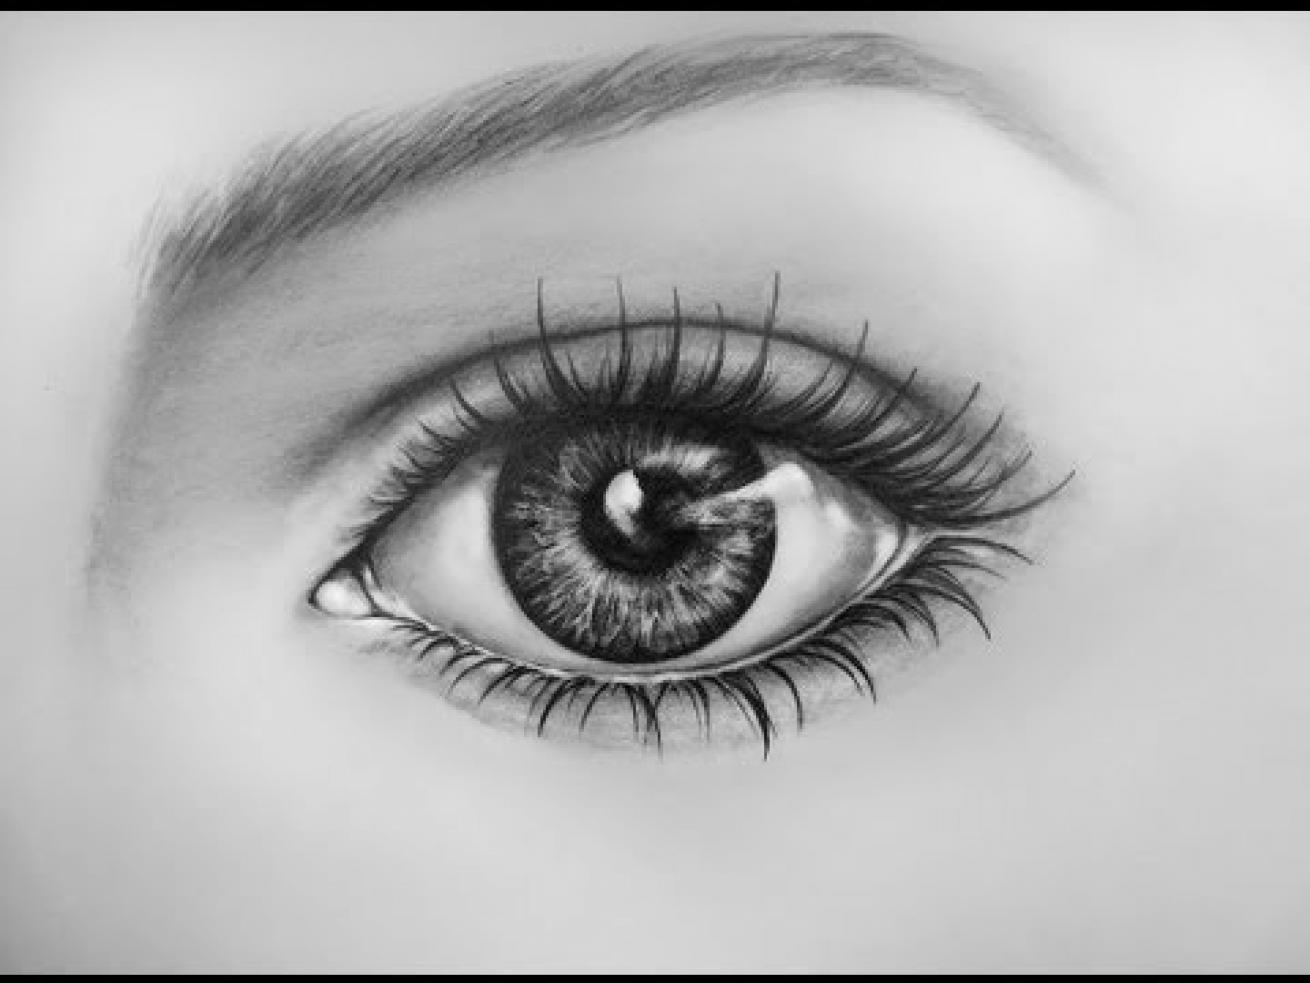.jpg)
If you're a creative person looking to expand your skillset, drawing the eye is a challenge worth taking on. Whether you're an amateur artist or a professional designer, there are many tips and tricks to help you create beautiful illustrations of the eye. In this post, we'll guide you through the process of drawing the eye from start to finish.
First things first, let's talk about the materials you'll need. To draw the eye, you'll need a few basic supplies, such as:
- A pencil (preferably with a soft lead)
- An eraser
- Paper (preferably a heavier weight, like bristol board, for better results)
- A few colored pencils (optional)
Once you have your materials ready, it's time to start drawing. Here's a step-by-step guide:
Step 1: Sketch the basic shape of the eye
The first step in drawing the eye is to sketch the basic shape of the eye. You can start with a simple oval shape, or you can try a more complex shape if you're feeling adventurous. When sketching, use light lines so you can easily erase any mistakes.
Step 2: Add the iris and pupil
Next, add the iris and pupil. The iris is the colored part of the eye, while the pupil is the black center. The size and shape of the iris and pupil will depend on the angle and lighting of your drawing. Play around with different sizes and see what works best for your drawing.
Step 3: Shade the iris
Now it's time to add some depth to the iris. Using a colored pencil or shading tool, lightly shade the iris in a circular motion, leaving a small white spot to represent the reflection of light. If desired, you can add more than one color to the iris to create a more realistic effect.
Step 4: Add detail to the pupil
Next, you can add some detail to the pupil. Using a darker pencil or shading tool, shade the edges of the pupil to create a subtle shadow effect. You can also add small details like veins or reflections to make the pupil look more realistic.
Step 5: Draw the eyelashes
Now it's time to draw the eyelashes. Using a thin, sharp pencil, draw individual lashes along the edge of the eyelid. Make sure to vary the length and thickness of the lashes to create a more natural look.
Step 6: Shade the eyelid
To create depth in the drawing, shade the area above the eyelid using a shading tool or colored pencil. This will create the illusion of a shadow above the eye.
Step 7: Add highlights
Finally, add highlights to the drawing to create a sense of depth and dimension. Using a white colored pencil or paint, lightly add highlights to the iris, eyelid, and lashes. This will give the eye a glossy, three-dimensional look.
Congratulations, you've just drawn a beautiful eye! Keep practicing and experimenting with different shapes, angles, and lighting to create realistic and captivating drawings.
How to Draw Different Types of Eyes
Now that you have a basic understanding of how to draw the eye, you can start experimenting with different types of eyes. Here are a few examples:
Almond Eyes
Almond eyes are a popular eye shape characterized by their slightly pointed ends. To draw almond eyes, start with an oval shape, then extend the top and bottom edges slightly. Add the iris and pupil as usual, then draw the eyelashes slightly upward to accentuate the shape.
Round Eyes
Round eyes are a cute and youthful eye shape characterized by their circular appearance. To draw round eyes, start with a circle shape instead of an oval. Add the iris and pupil as usual, then draw the eyelashes straight out or slightly downward to balance out the roundness of the eye.
Asian Eyes
Asian eyes are a unique eye shape characterized by their small size and sometimes slanted appearance. To draw Asian eyes, start with a smaller oval shape. Add the iris and pupil as usual, then draw the eyelashes downward and slightly inward to create a subtle slant.
Tips and Tricks
Use References
When you're starting out, using references can be a helpful tool to improve your skills. Look at photographs of eyes, paintings, or illustrations for inspiration and guidance.
Experiment with Different Materials
Don't be afraid to try different materials when drawing the eye. You can use watercolors, charcoal, or digital tools to create unique and stunning illustrations.
Practice, Practice, Practice
The key to improving your eye-drawing skills is to practice regularly. Set aside time each day to draw the eye, and experiment with different techniques and styles until you find the one that works best for you.
Don't Be Afraid to Make Mistakes
Remember, drawing is a learning process, and making mistakes is a crucial part of that process. Don't be discouraged if your drawings don't turn out perfect the first time. Keep practicing and experimenting, and you'll see improvement over time.
Have Fun!
Most importantly, have fun with your eye-drawing endeavors. Drawing is a form of self-expression and creativity, so enjoy the process and don't be afraid to let your imagination run wild.
As you can see, drawing the eye can be a challenging but rewarding experience. With the right tools, techniques, and mindset, anyone can create beautiful and captivating illustrations of the eye. So grab your pencil and paper, and start drawing today!

Post a Comment for "How To Draw Eyes Sketch"